Asteroids Deluxe Cabaret Restoration
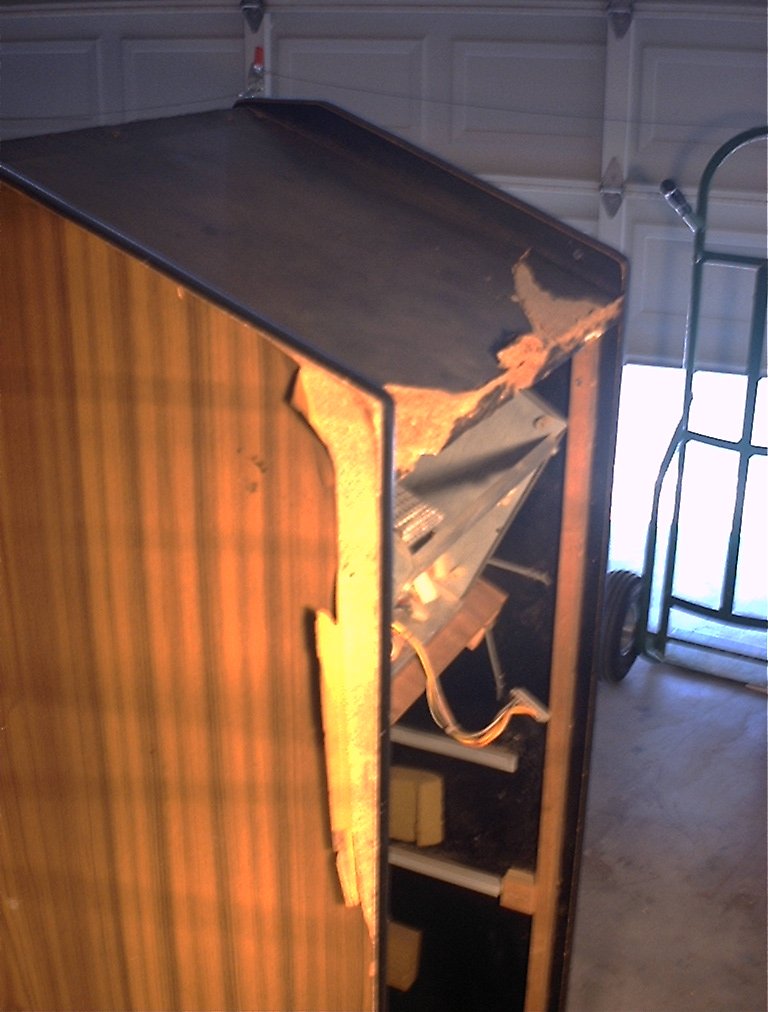
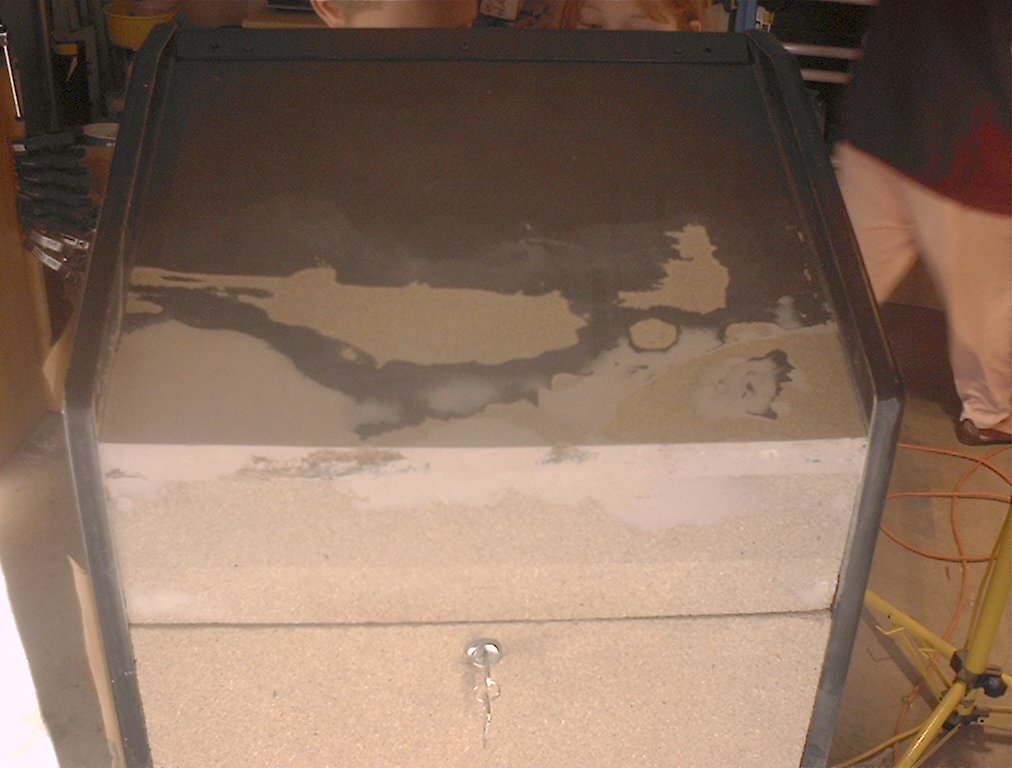
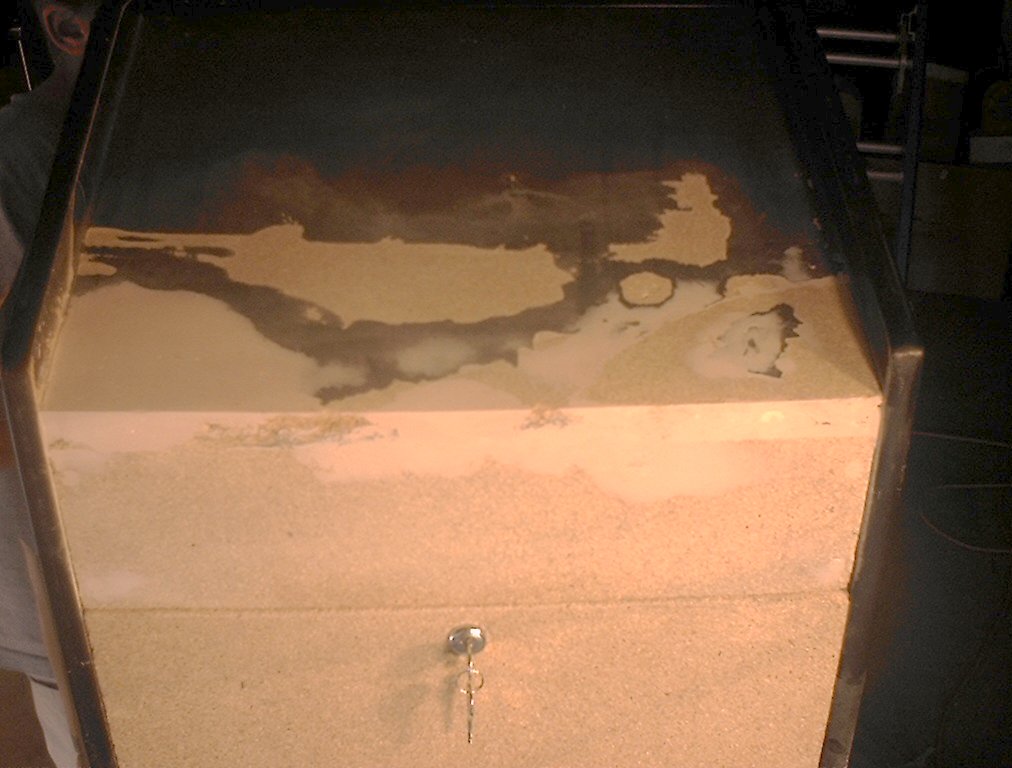
This poor cabinet had been mistreated a bit in its long life of 20 years.
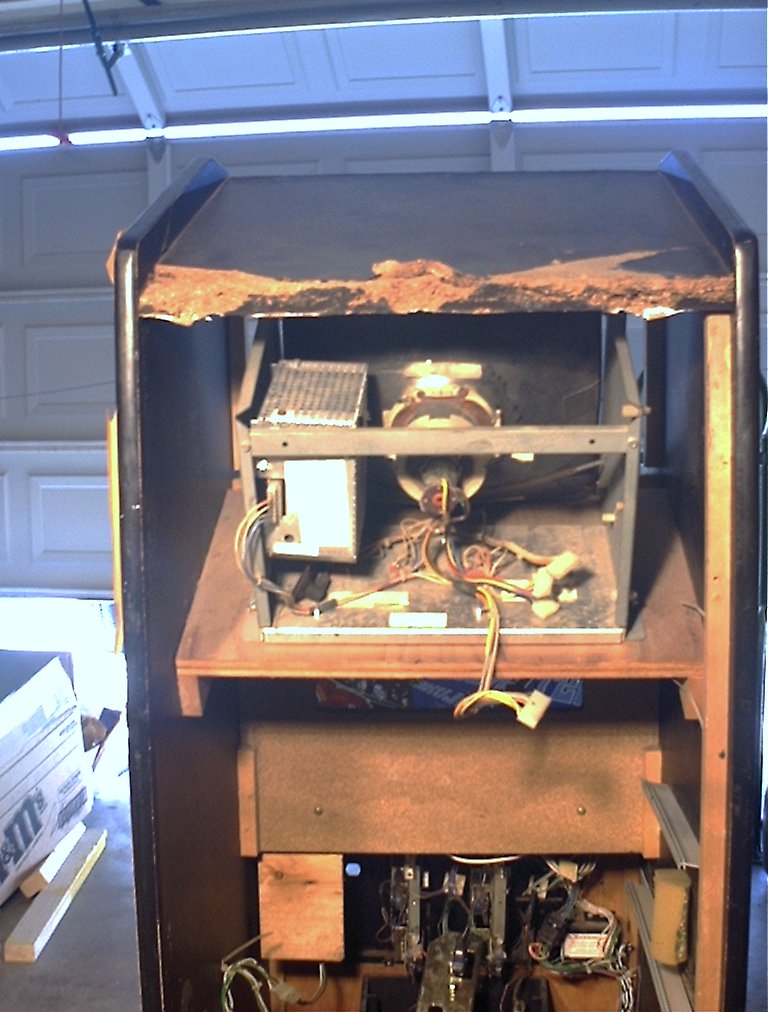
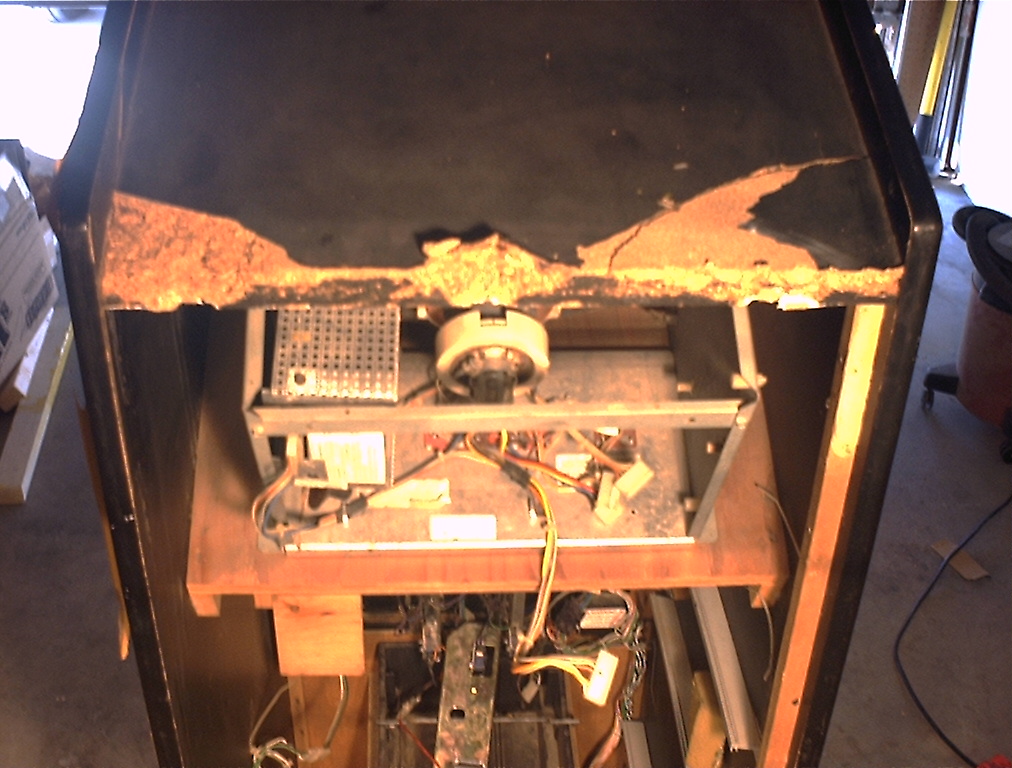
The back door was missing and had been pried off by someone probably
try to find a few quarters inside. This also damaged the top of the cab.
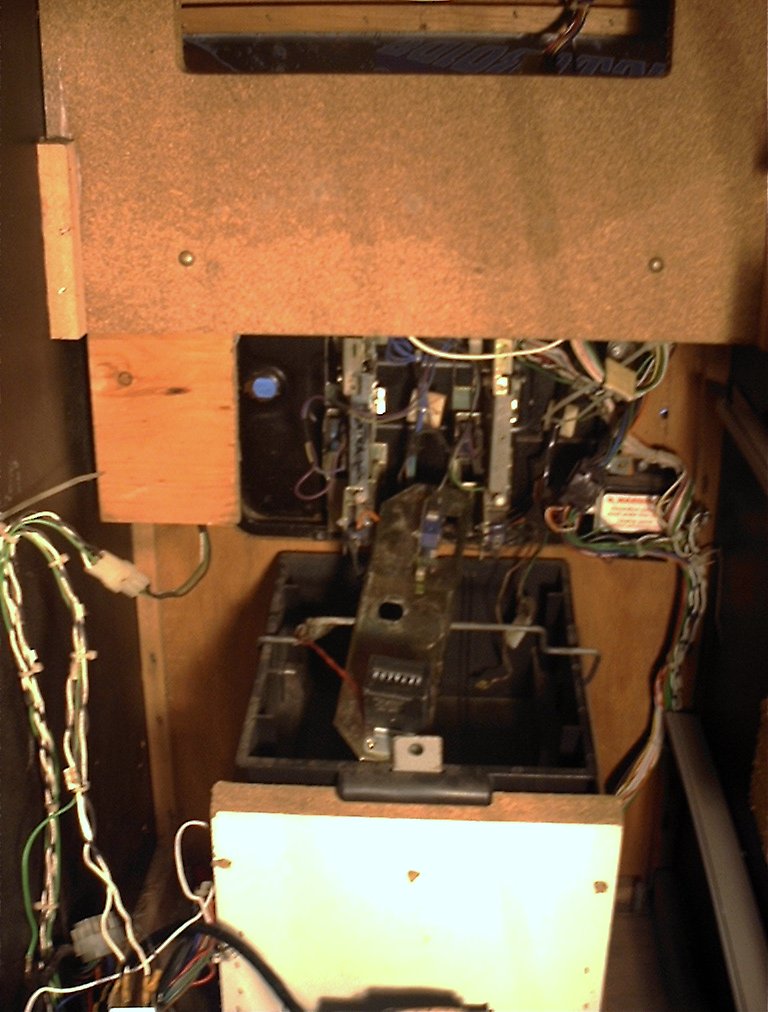
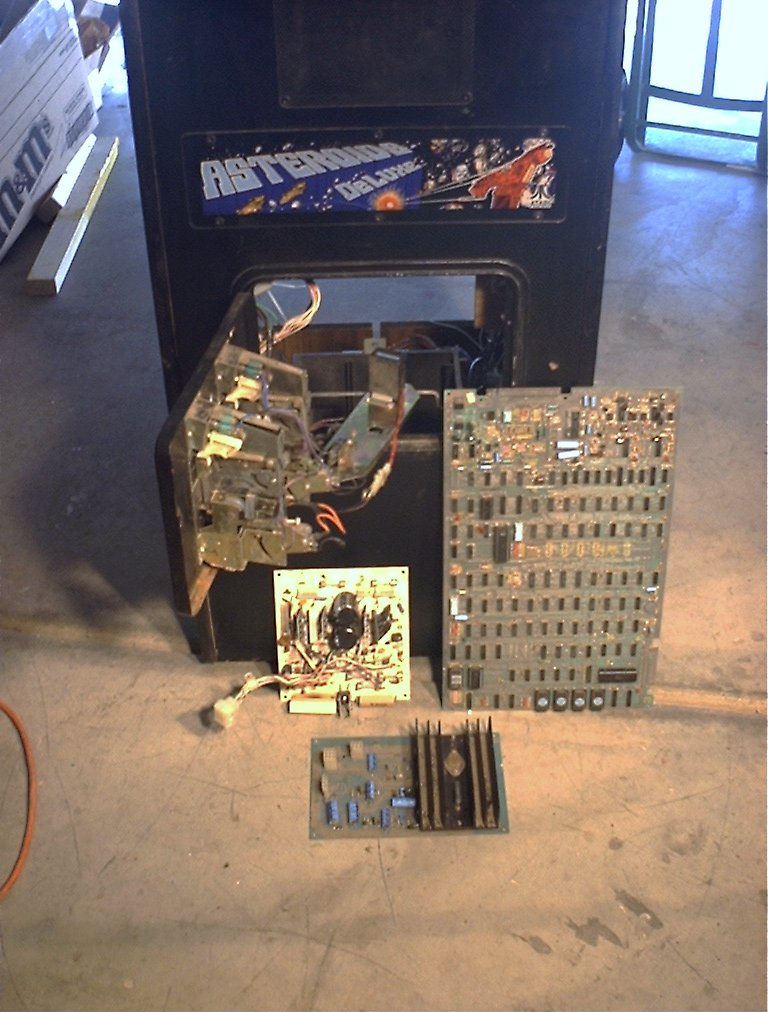
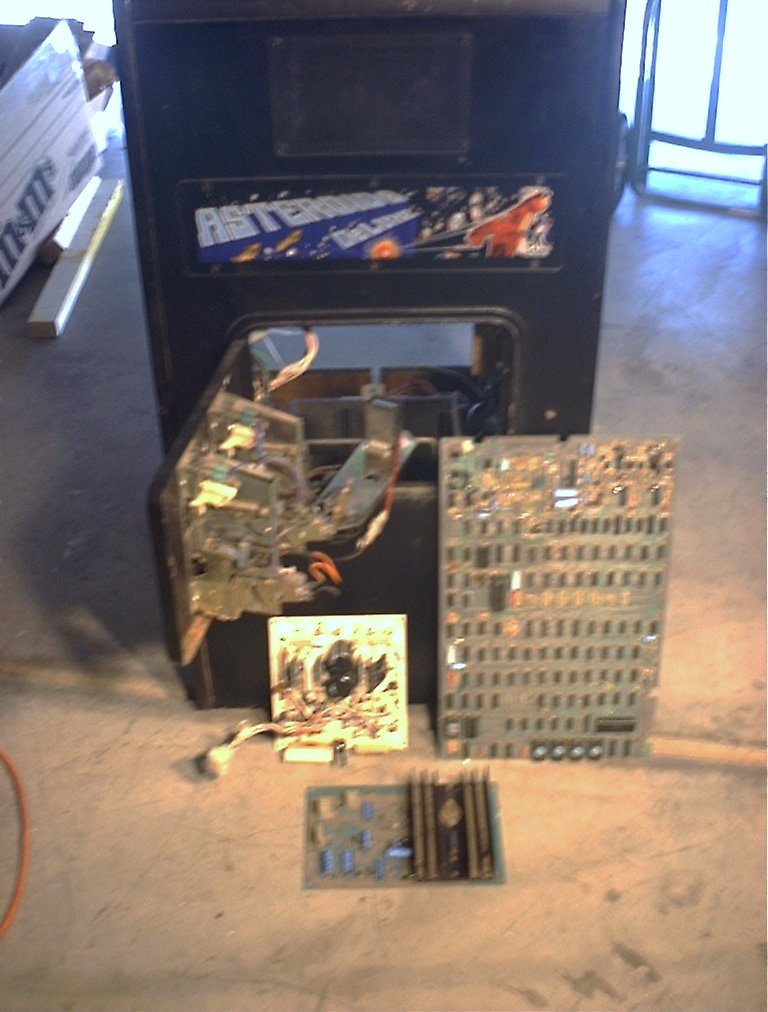
The boards were all loose as was the wiring and the power supply.
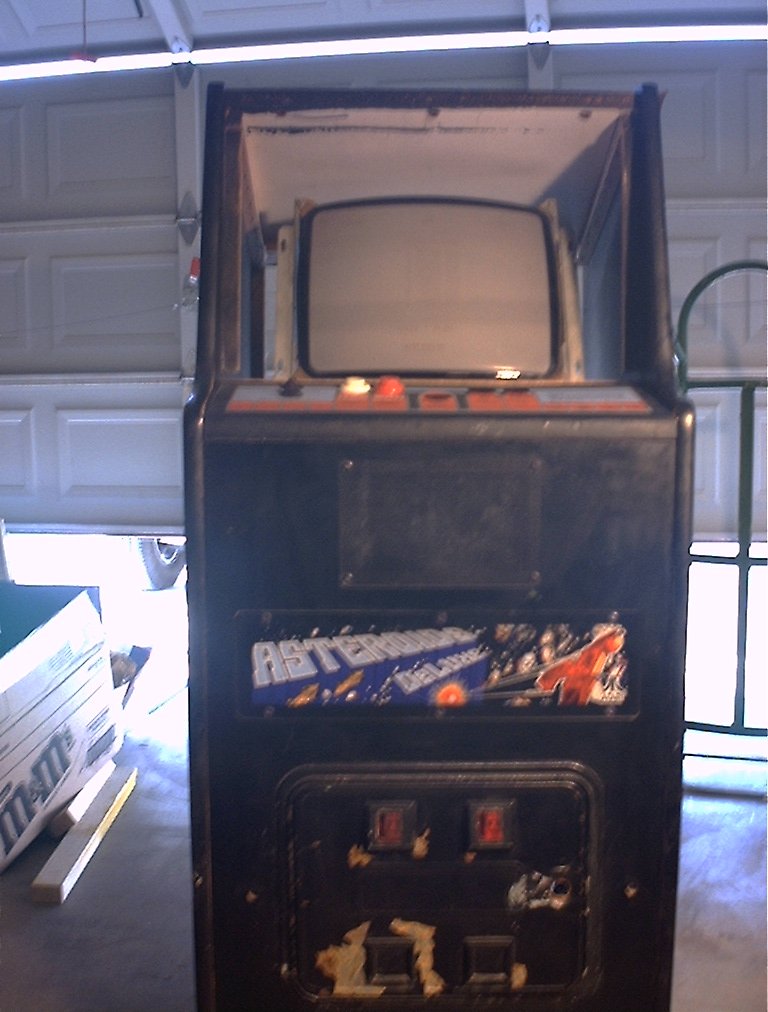
It was in pretty rough shape, but a game very worthy of restoration. And
the nice thing about this game is that all the guts and control panel is there,
so at least it is complete in that respect.
Where to start...
Before attempting any bodywork at all. I like to know what parts are needed
to get the game back into working order. So, time to put all the piece together
and see what happens if I fire it up.
Ok, what do I need here. A hand full of buttons and leaf switches to populate
the control panel. Then remount the sound board and game board.
Next reattach the Power supply to the bottom of the cab and run the wiring harness
that is laying in the cab. Once the wiring and board are all where they are
supposed to be. Time to mount the monitor, It wasn't bolted down to the shelf.
When I started putting the monitor together, I noticed the anode clip was not
attached to the CRT. Looking closer I could see why, the clip was missing off
the end of the anode wire. The best solution I could come up with was to use
one from an old TV I had sitting in the garage. Thankfully, the anode wire
that connects to the CRT on one end, has a clip on the other end that connects
to the high voltage diode, so grafting in a new one worked fine.
Mount the deflection board and put the monitor back in the
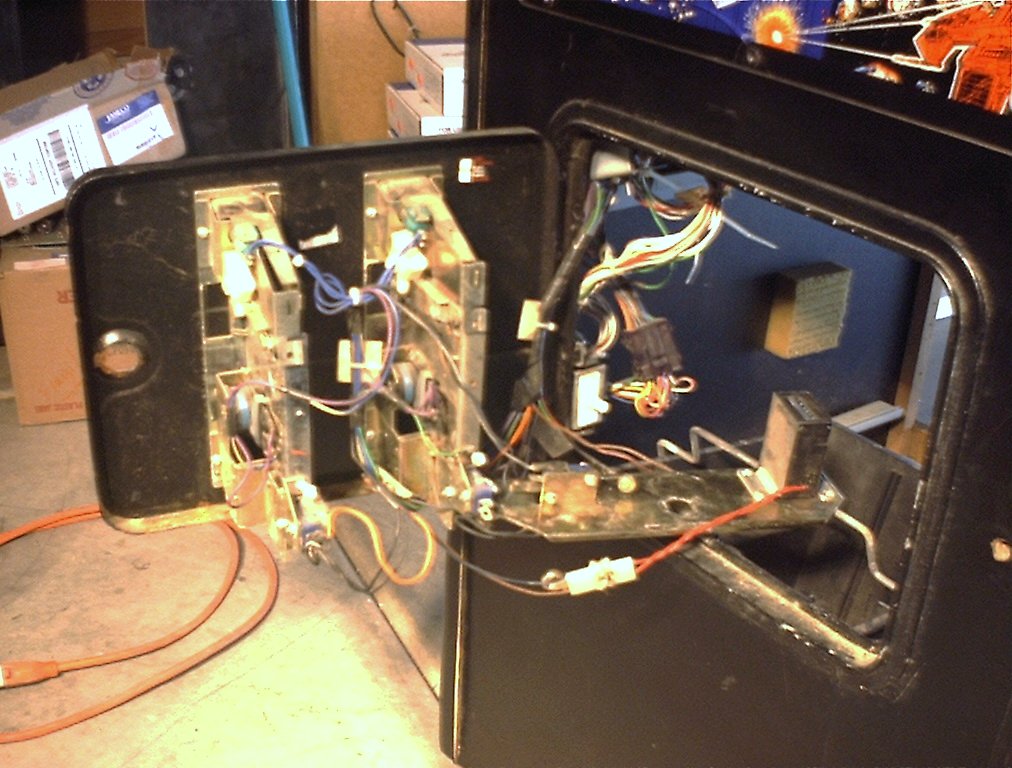
game. Connect all the wires, power it up and .... Nothing. :-(. Flip the test
switch inside the coin door and the buttons light up. That's good. Flip the test
switch to play and it appears dead, that's bad.
I took the game board and put it in my Asteroids cabinet to debug and repair
the board. Putting the game in test mode put a picture on the screen and an
error code up in the upper left corner of the screen. Looking up the error code
showed that one of the eproms was bad. I reseated the eprom and tried again. This
time the board worked fine. Flipped the test switch back to normal and I had the
attract mode up on the screen. One problem down. Next!
I put the board back in the Asteroids Deluxe cabinet and tried it there. The
game ran, but the monitor was dead.
Monitor troubleshooting time!!!
The spot killer was on and if I turned up the brightness a dot would appear
in the center of the screen, so I had high voltage. Checking all the the
transistors on the deflection board showed a few bad transistors in both the X
and Y circuits. After replacing those, the monitor was still dead. I finally
found one of the big ceramic resistors was open, R101. When I unsoldered it
and removed it from the board it came off in 2 pieces. After replacing the
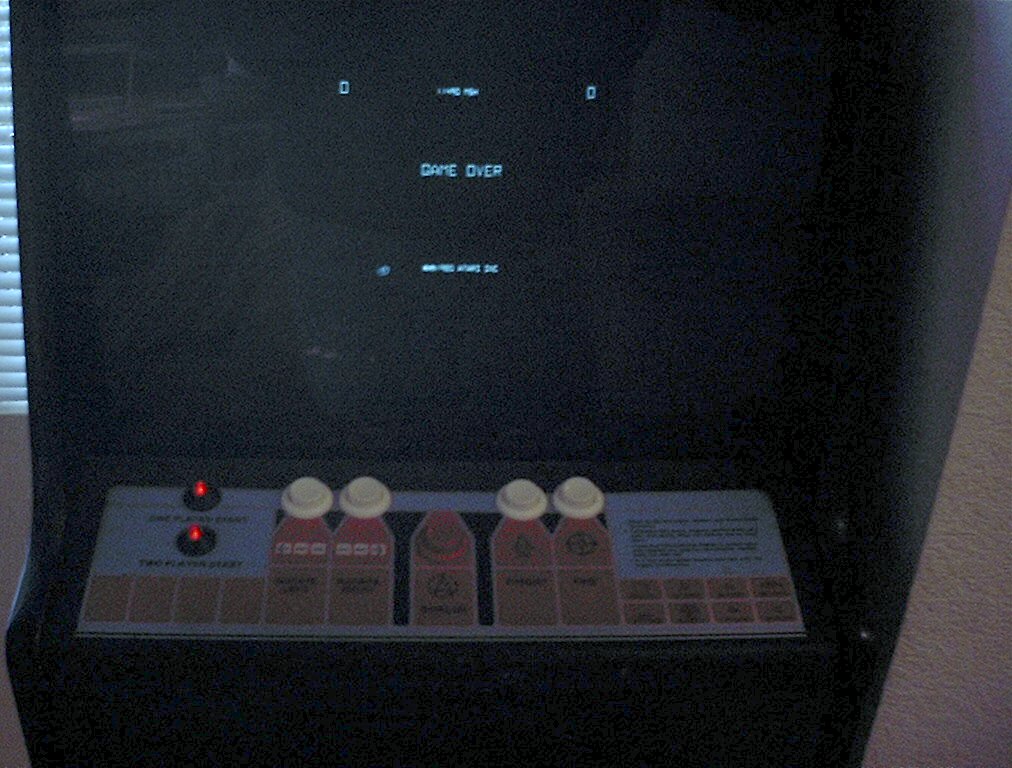
resistor the monitor sprang to life when powered up. I finally had a working
cabinet and got the play my first game of Asteroids Deluxe in many, many years.
On to the cabinet repairs
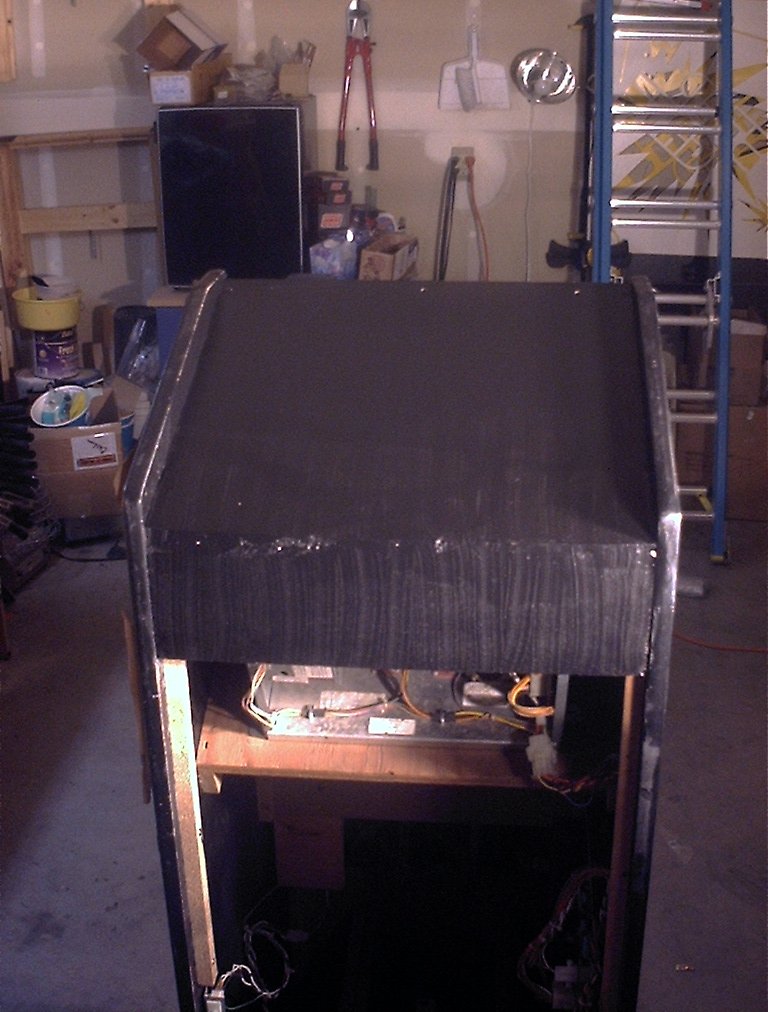
The most notable damage was the top of the cab and the missing back door.
I cut a back door and the piece above that had been ripped off the back and
replaced it. Then used Bondo to patch the wood on the top. The door guide on
the inside on the left was also missing, so a small 1"x1" strip was mounted
with wood glue and a few 1 1/4" drywall screws. When I was fixing this part,
I noticed the bottom of the back was coming loose as well as some of the other
wood inside the cab that holds up the monitor shelf. Using more wood glue,
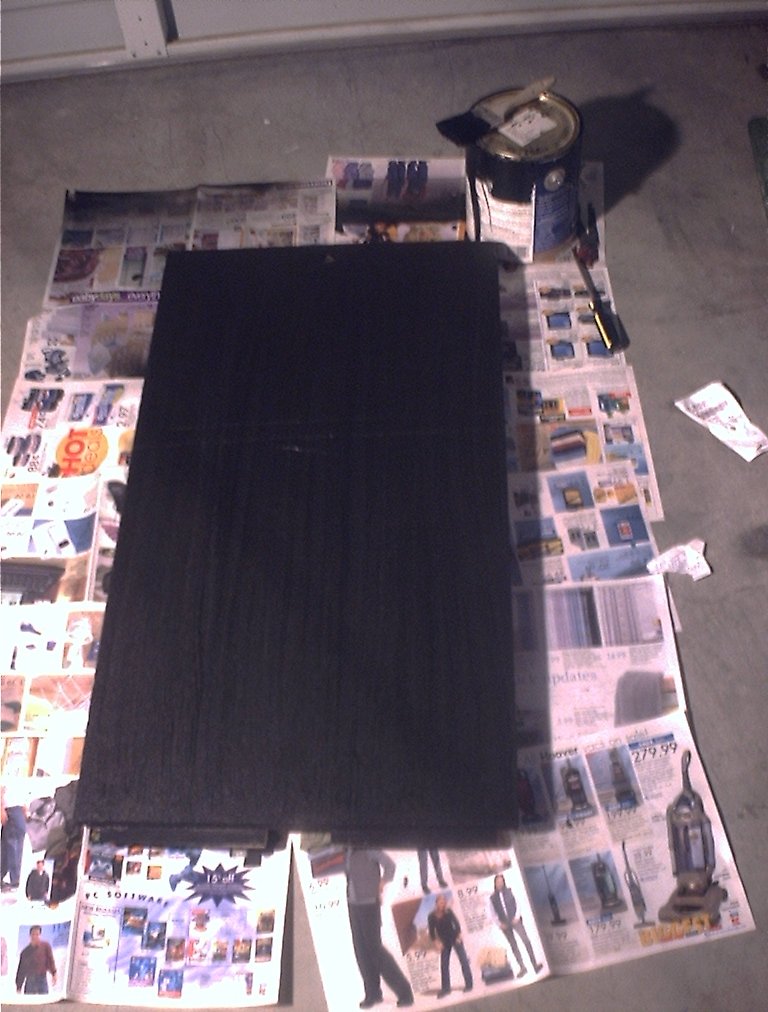
clamps and a few more drywall screws, I repaired those problems too. Then,
a little black paint on the top, back and back door and we're good to go.
The smoked glass was missing as was the top bracket that hold it on. A trip
to the local hardware store provided a sheet of smoked Plexiglas that I
could cut to size and a shelf bracket that I could use to make the top plexi
holder with, along with the correct size black Allen screws to hold the bracket
on.
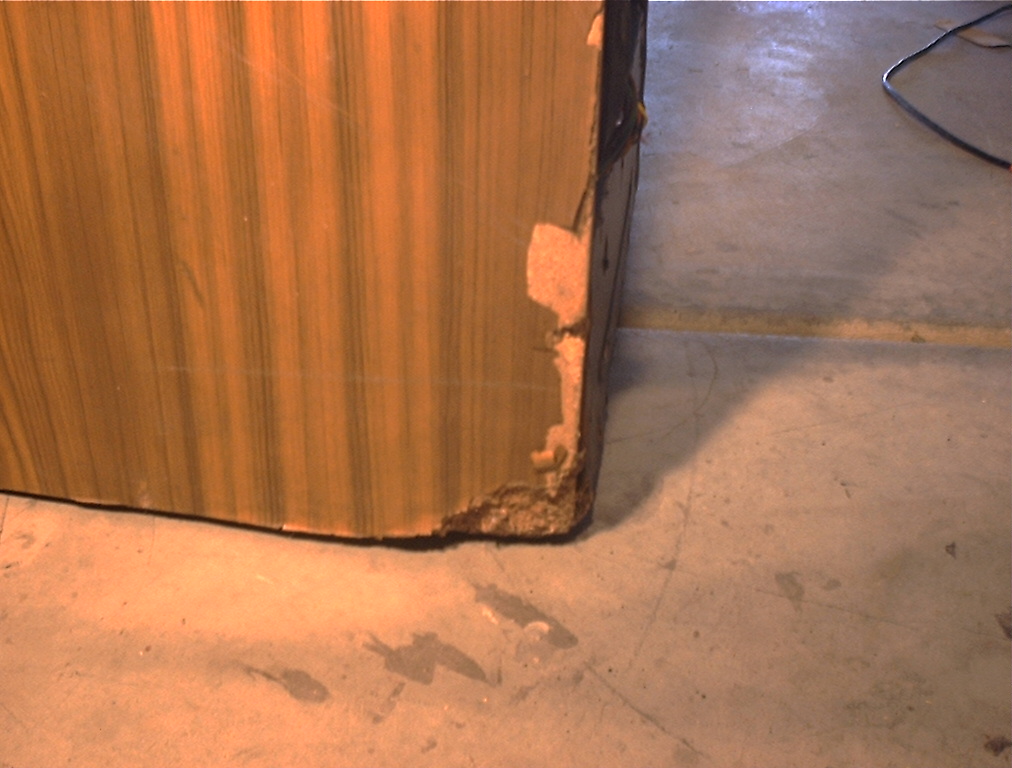
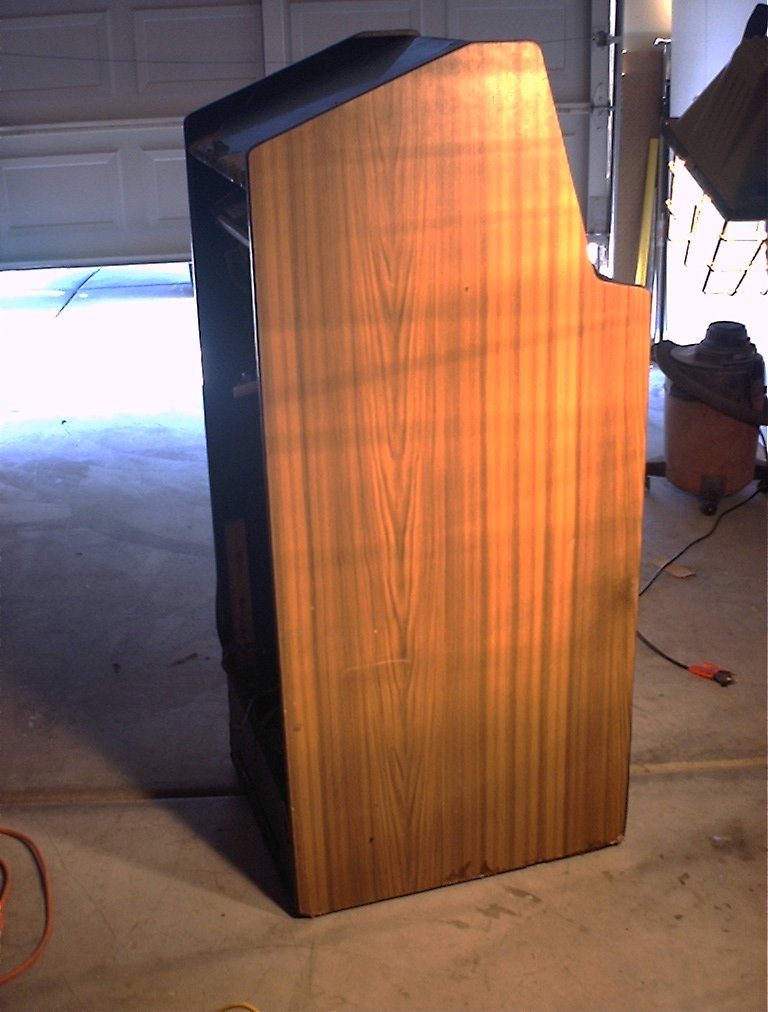
On to the right side of the cab. The wood grain was coming off and the back
lower corner had been broken off. More Bondo took care of the damaged wood,
then a router and slot cutter bit was used to recreate the slot for the
T-molding. To repair the wood grain, I used some 3M spray adhesive with a few blocks of wood and clamps to hold
it down while it dried. There was still some missing in areas, so I painted
those areas with some brown paint to both seal the edges where the wood grain
was missing, and to cover the bare wood and freshly filled areas that were exposed.
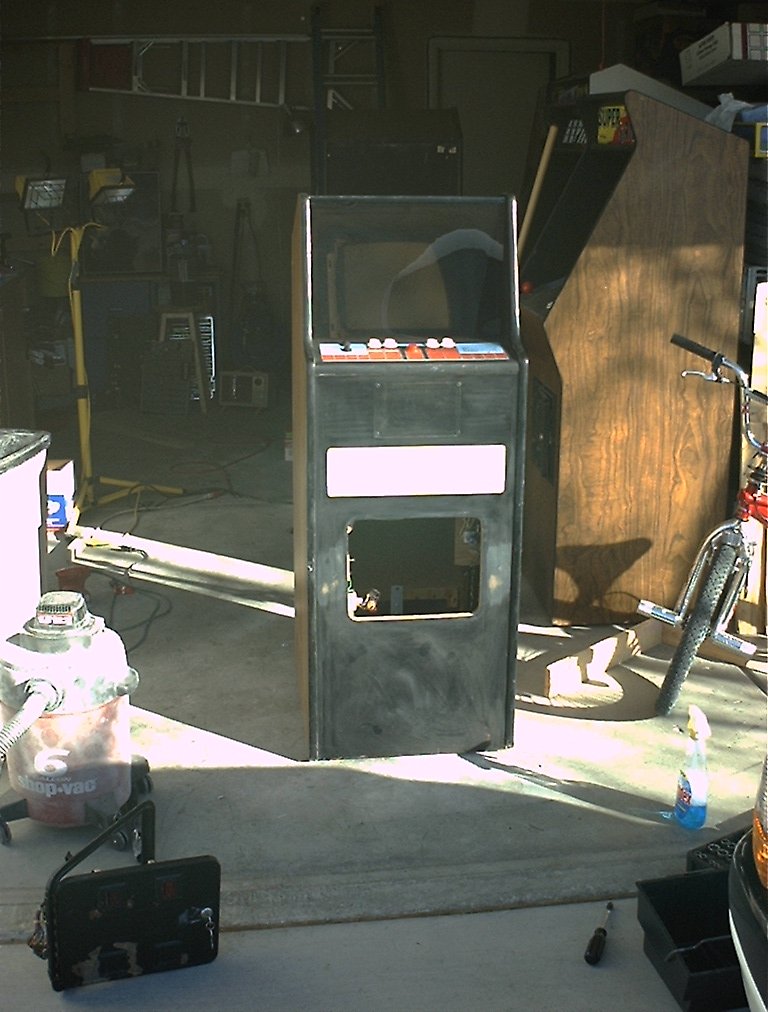
The last few things that needed to be done:
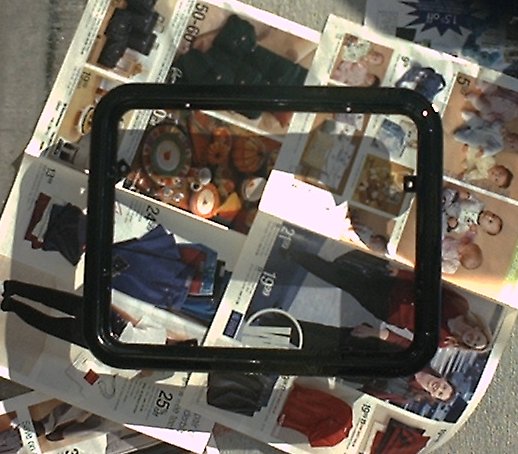
- The coin door and frame was stripped and repainted
- The security hasp holes were filled
- Painted the front after repairing the holes
Finishing touches
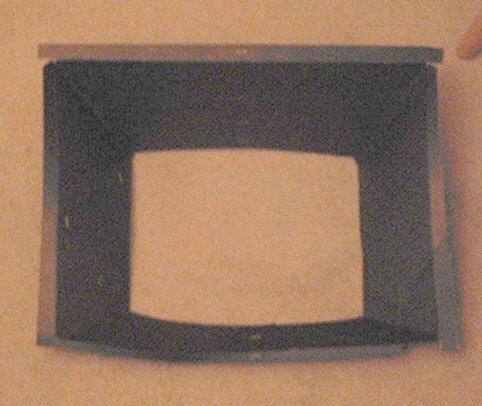
- Create a paper bezel, for under the smoked plexi, done with black
construction paper
- Replaced the leg bolts on the bottom of the cab
Here are the pictures I took during the process
|