Repair Logs
Congorilla AKA Crazy Kong (Orca) PCB repairs
10/6/1999
Tools: EPROM burner, small screwdriver, soldering iron, and a lot of patience
Problem: smashed PCB
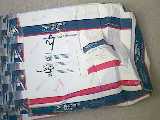
I purchased this PCB as a Congorilla kit. When it came, the box was smashed and wrapped
in a plastic bag from the good ol' United States Postal Service. The two pictures below
show the condition of the box and it's contents when it arrived. It wasn't the vendor's
fault. Oh well!
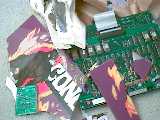
Click the pictures to see a 640x480 version
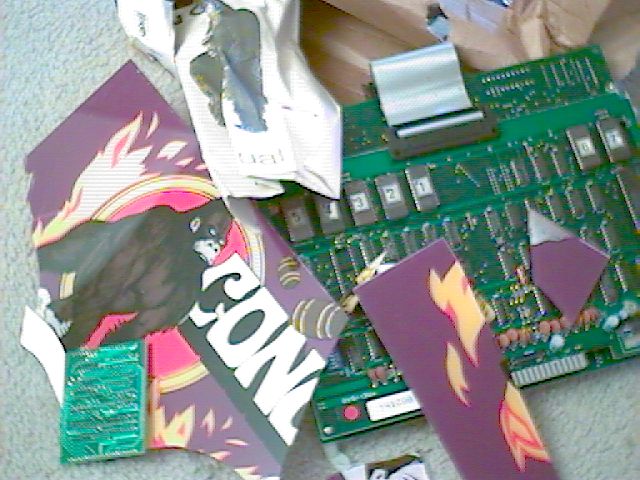
You can see from the second picture, the CPU card had been knocked off the board and
was sitting in the lower left, it has all the feet that fit into the CPU socket smashed
against the board as if it was twisted off. The EPROM in the upper right was smashed so
badly the glass window was shattered and it fell apart in my hand when I removed it.
The stands that held the boards together had been broken and the two boards were sandwiched
together then twisted in opposite directions. I could tell this because the the boards'
solder sides both face each other, and the pins of just about every chip sticking through
the back of the board were bent completely flat against the board. What a mess!
The first thing I did was try to remove the broken EPROM and test it
to see if I could read the data. When I tried to remove the chip, it broke into tiny
little pieces. Well, can't read that one! I removed the other EPROMs one at a time
and saved the data. Next I had to identify the roms I had, so I could figure out what
EPROM was missing. I did this by using Winzip to zip up the roms I just dumped and print
out a list of CRCs. I then found the Crazy Kong ROMs that were supported by M.A.M.E and
matched CRCs to figure out which ROM set I had. After identifying which set, it was a
matter of deduction to figure out which one was missing from my set.
Armed with the knowledge of the contents of the broken EPROM, I burned
a new on and installed it on the board.
Next, I straighten out the pins on the CPU PCB
adaptor. When I tried to install it, I noticed the socket on the main board was broken,
so I replaced the socket. Next, with the small blade screwdriver and my fingernail,
I straightened out every bent pin on the back of the board that was making contact with
another trace or component.
Two of the four mounting holes on the front of the PCB were broken.
I used several washers to wedge the boards between them and used longer screws to
mount the boards back together again. I now had something I could plug into my test
rig and power up.
Now, after all this work, finally I powered up the board. Garbage on
the screen... I wiggled the CPU card into the socket and the board went into it's
startup mode, then crashed.
Over the next several days, I kept coming back to the board and could
not for the life of me see anymore damage anywhere, until... I took the board apart
again and looked closely at the back of both boards. Just for kicks, I straightened
out all the remaining pins and found several on the ribbon cable connections that were
making contact with other pins. After putting the board back together and applying
power, the game started working, PERFECTLY! It was my very first board repair and after
playing with it for several weeks it was finally running.
I learned on this very first repair, that patience and
persistence is
very important when trying to fix a board.
Solution:
- Replace smashed EPROM
- Replace CPU daughter card socket on the main board
- Straighten out PCB mating pins on the CPU daughter card
- Straighten out hundreds of bent pins on the bottom of both boards
< Prev Page
|