MikesArcade.com Coin-op Video Arcade Technical Information Archive
  Home  |  Repair Logs  |  Game Manuals  |  Monitor Manuals  |  Online Store  |  Links  |  Contact Us
Technical Info
  Repair Logs
  Pacman fixes
  Manuals & Schematics
  Monitor Manuals
  Nintendo Game List
  Nintendo Joysticks
  Nintendo Buttons
  Data I/O Promlink 6.10
Spies Wiretap Archives
  Coin-op Video Game List
  Game Conversions
  The Mixed Bag
  PCB Pinouts and DIPs
PDF Game Artwork
  Coin door inserts, etc.
  Instructions cards
  Operation Sheets
  Control Panel & Bezels
Jukebox
  Title Strip Creator
Tutorials
  Component markings...
  Crating a game
  Build your own cabinet
Board Upgrades
  Double Donkey Kong
Wanted
  Items I'm looking for
Miscellaneous
  Links
  Contact Us
MAMETM & MAMEUI
  Visual C Project files
Certifications
  Valid HTML 4.01!
 

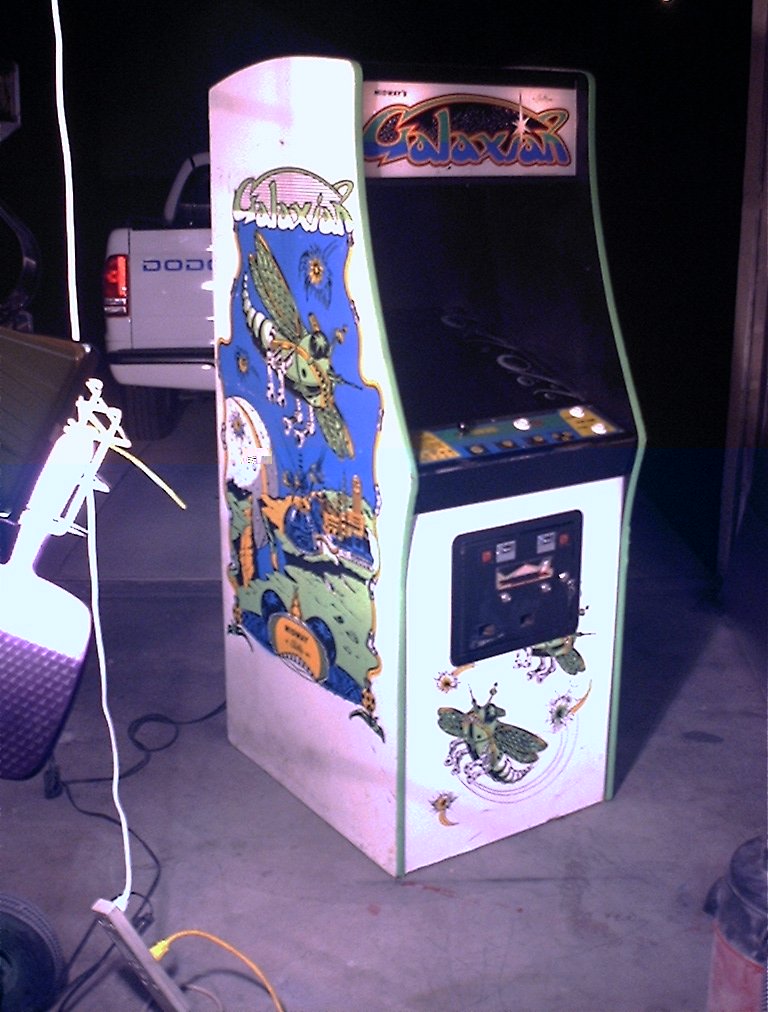
How do you crate a game
for shipping via Forward Air?

There are many ways. I personally get the cheapest plywood I can, usually around 3/8" at $9 for a 4'x8' sheet.

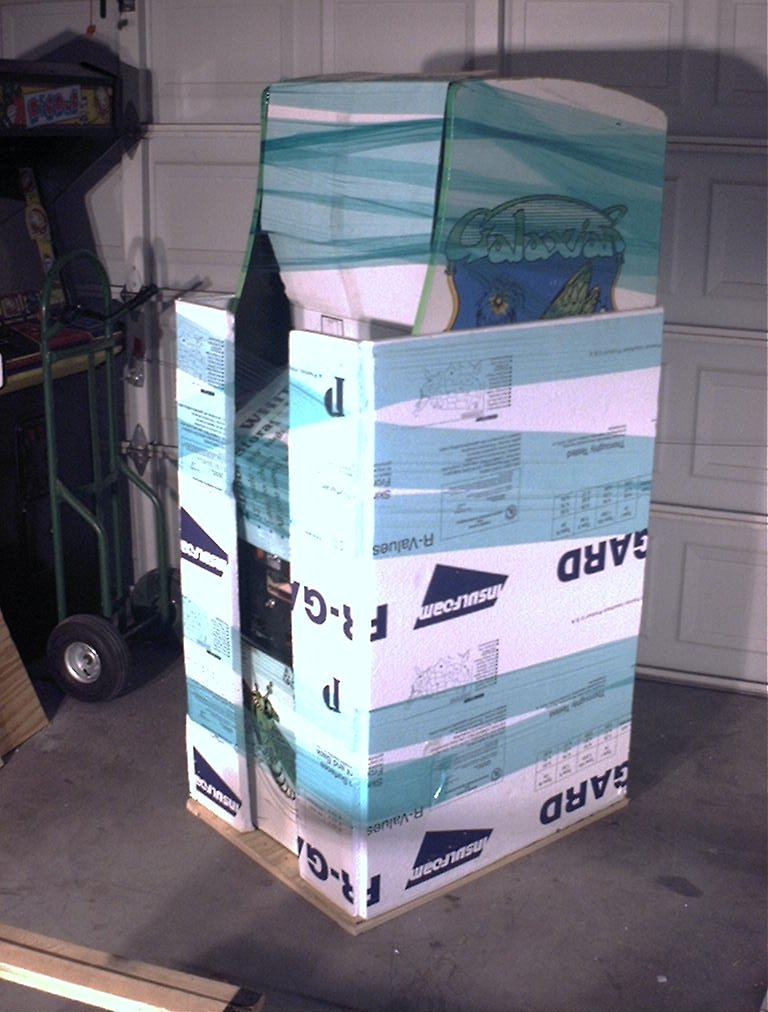
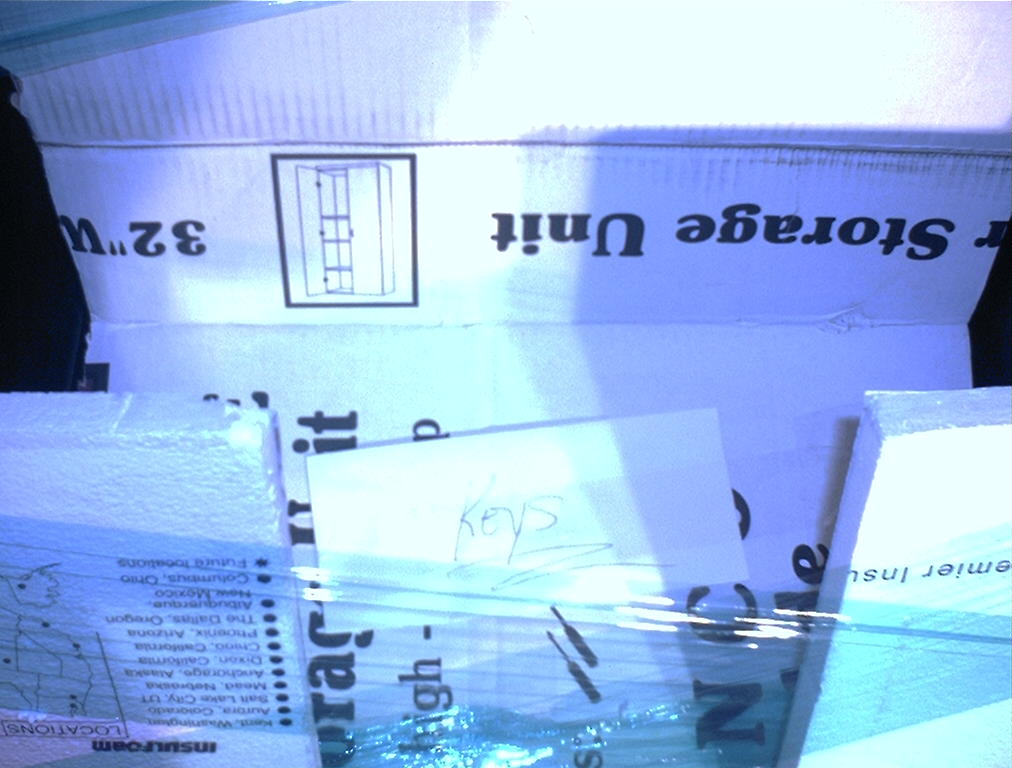
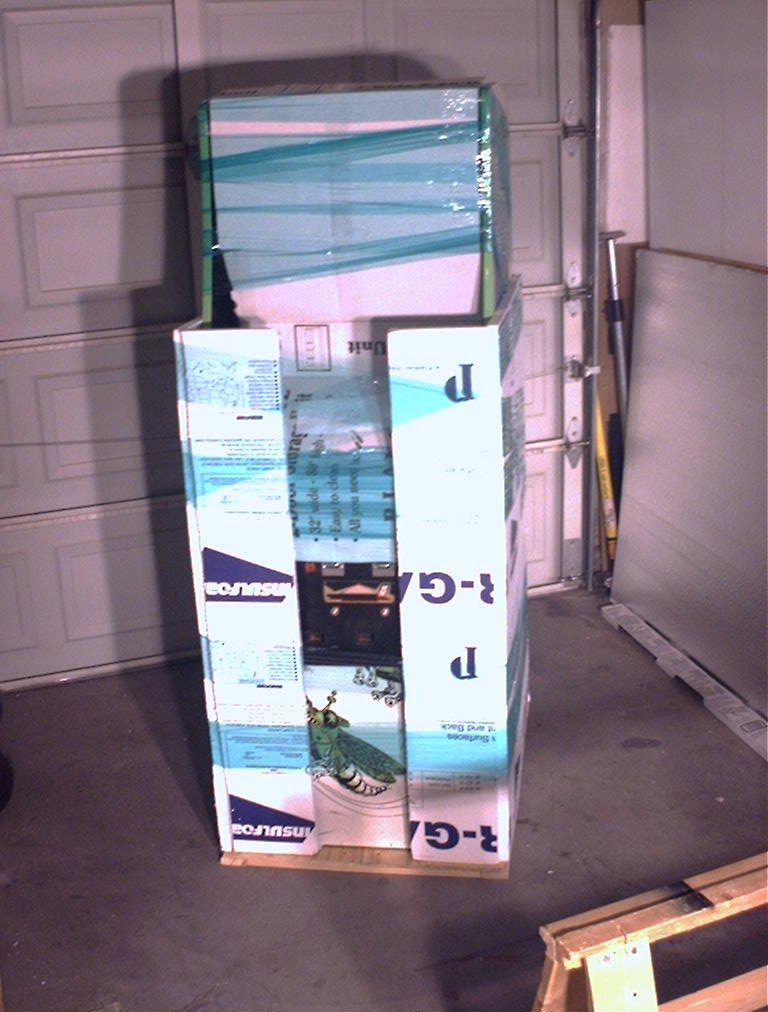
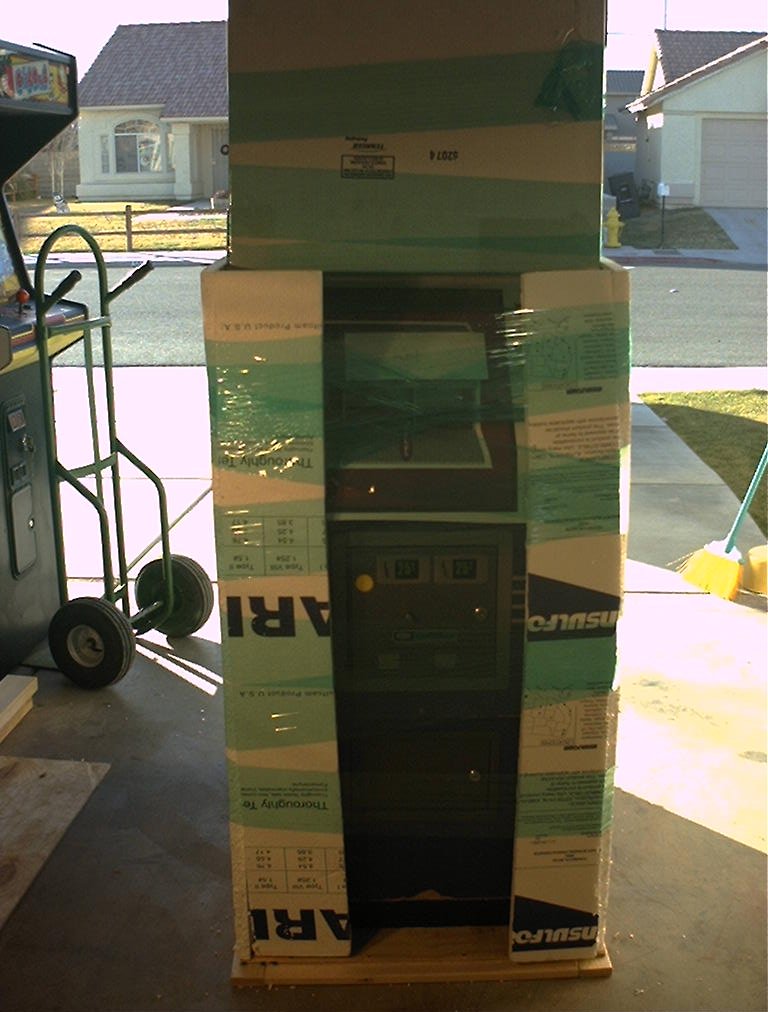
Wrap the bezel, marquee and CP areas with Cardboard, secure the cardboard to the game with plastic wrap. Tape an envelope to the cardboard covering the CP with the keys in it. Then use a 4'x8' sheet of 3/4" Styrofoam insulation to wrap around the game. Secure it with more plastic wrap.

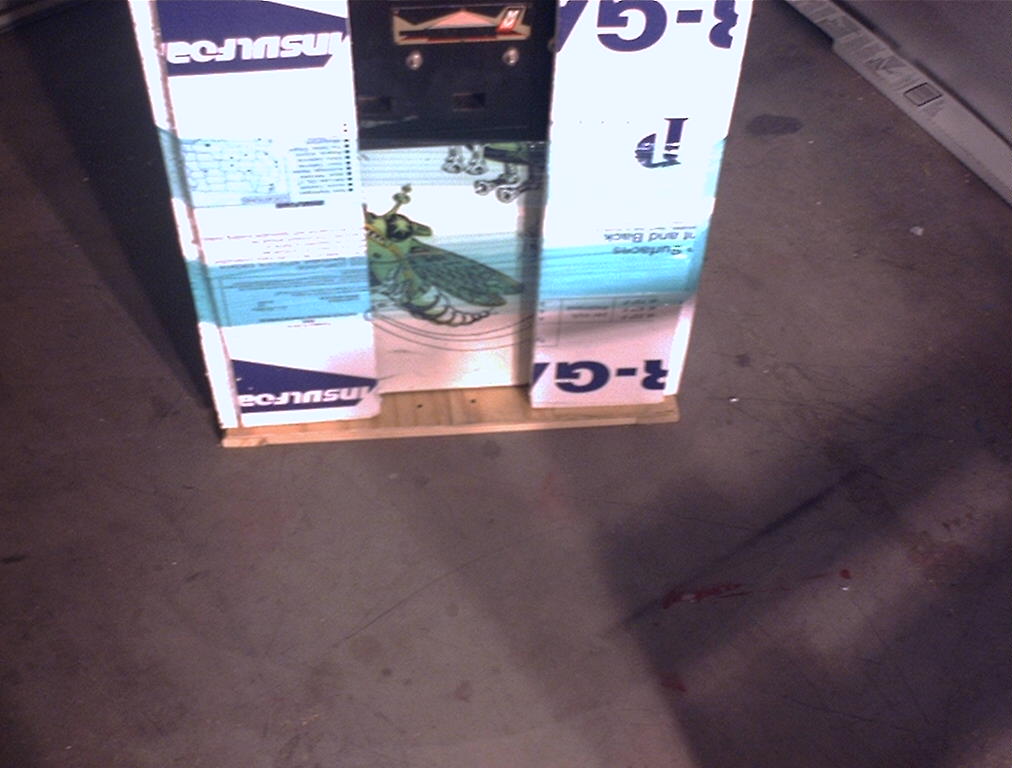
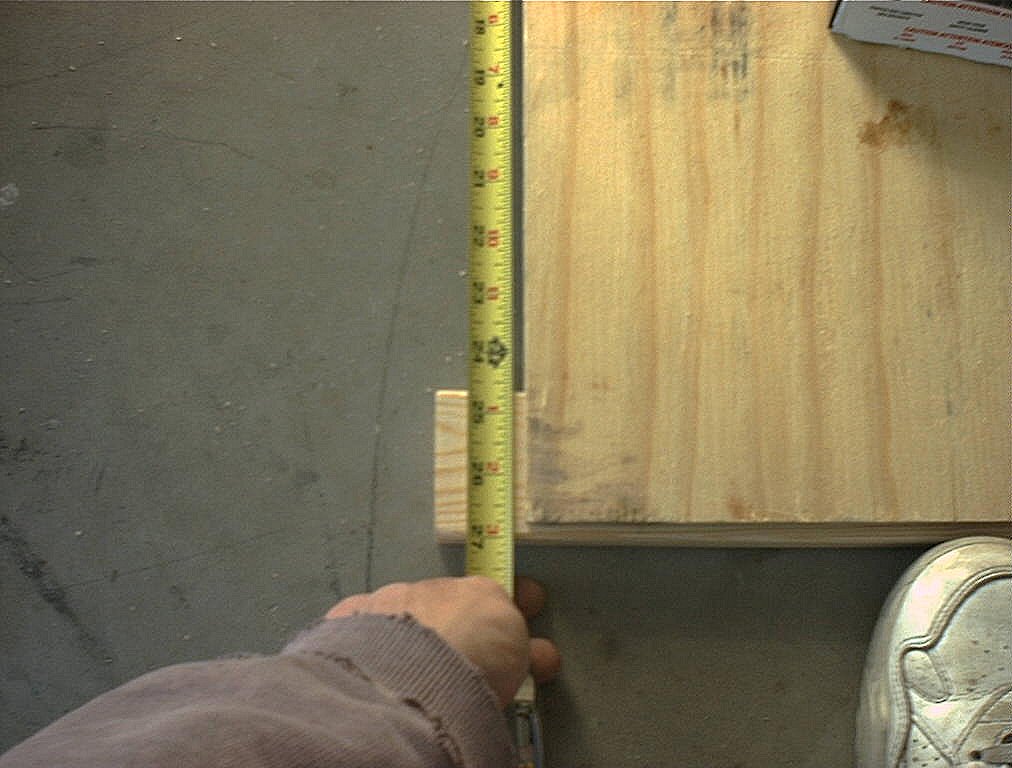
  1. Now take the measurements for width and depth.
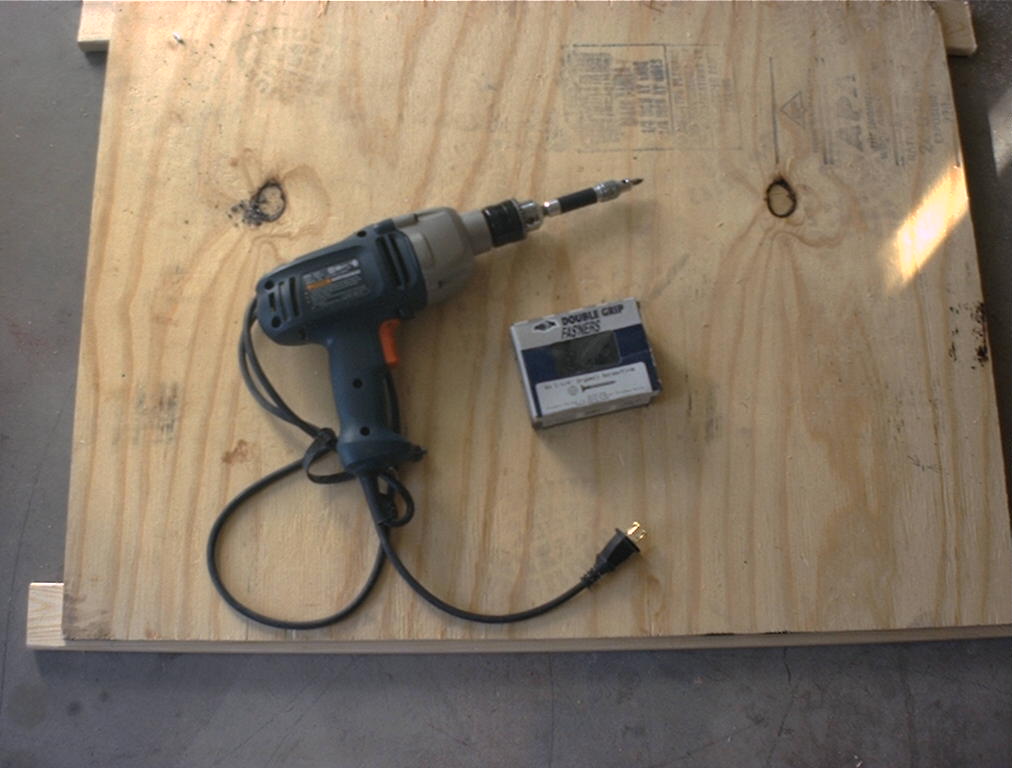
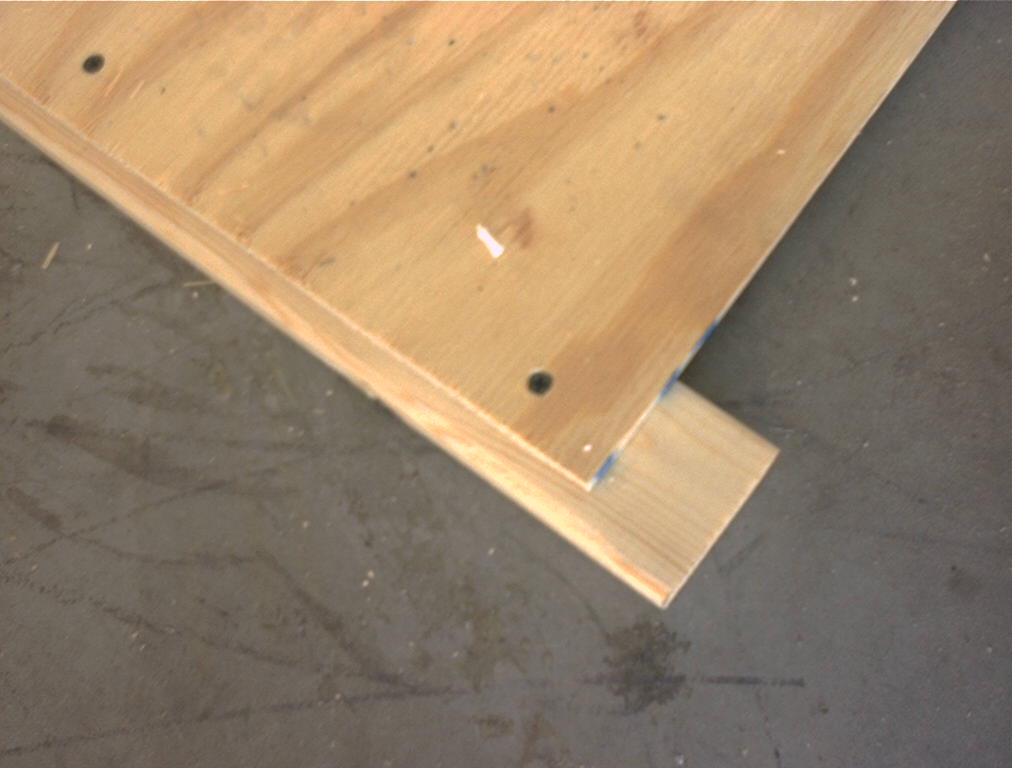
  2. Build a bottom out of ply and 2x4 or 2x3. the same size as the measurements you just took for width and depth.
  3. Set the game on the bottom.
  4. Measure the height of the game from the floor and add the floor height of the bottom to the total. (so you have enough room to add a top).
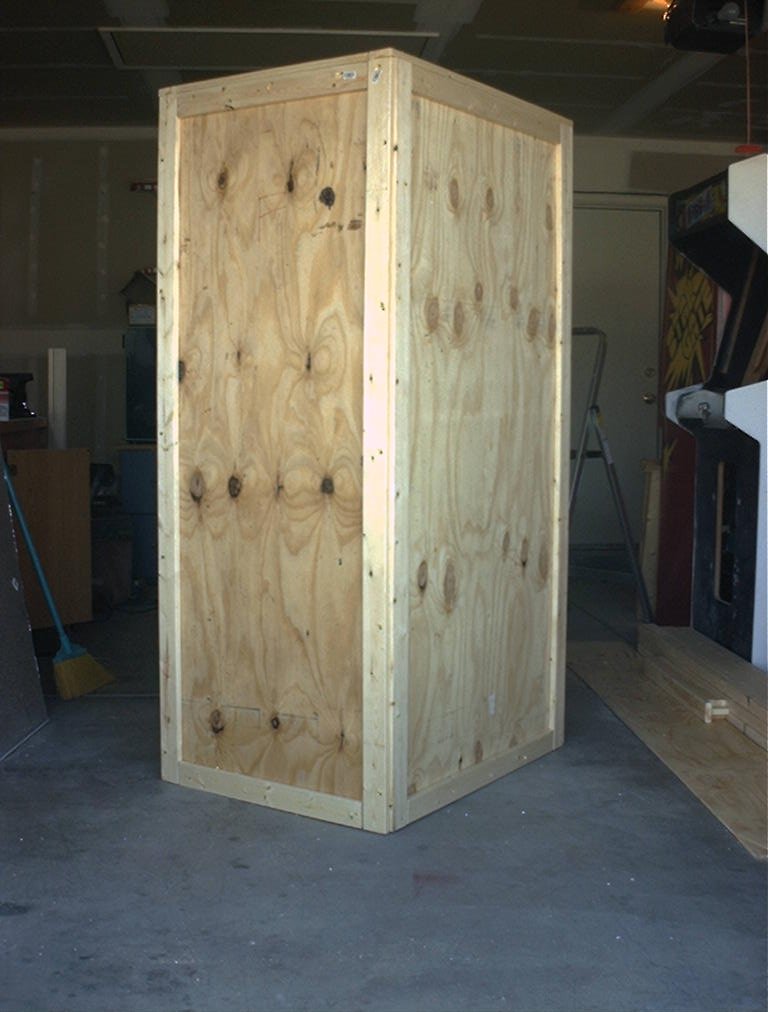
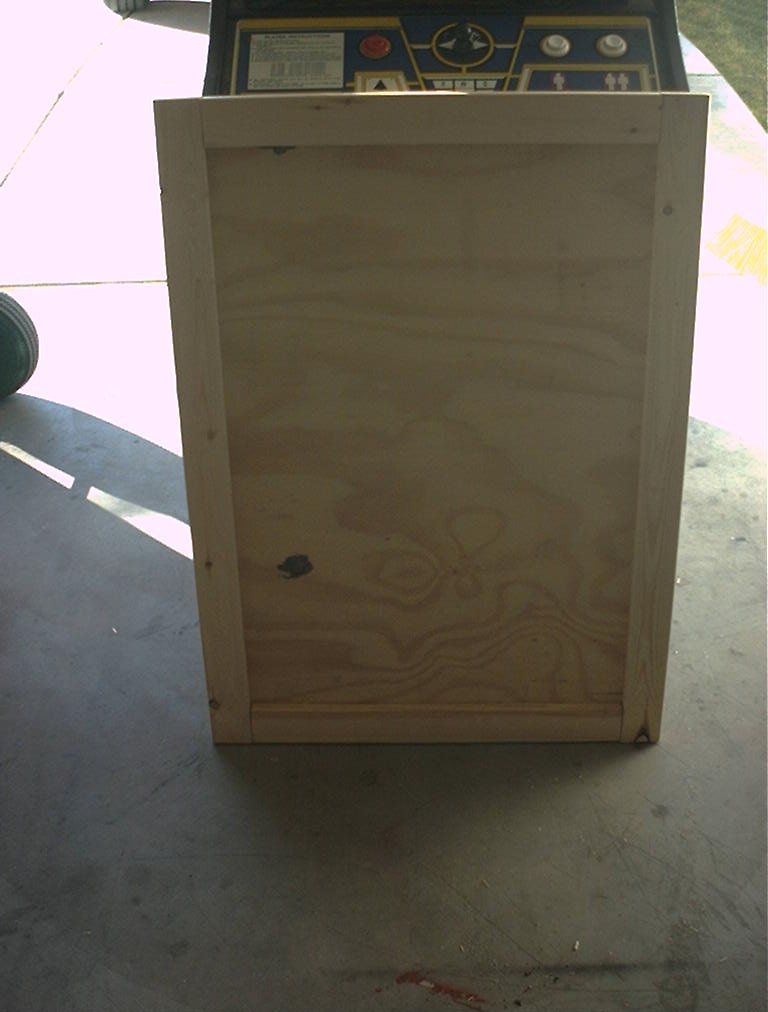
  5. Cut the front and back sides and frame them with 1x4. (the 1x4's give you a little extra width if you need it) Screw the front and back to the outside of the base with the framed sides facing out.
  6. Attach a temp 2x4 from the top between the front and back to hold them in place.
  7. Re-measure the sides from the outside of the front to the outside of the back side.
  8. Cut the sides and screw them into the 1x4 frame you made on the front and back sides. And remove the temp brace.
  9. Make a top, just like you did the bottom and inset it between all 4 sides. Then screw the sides to the top.
  10. Mark the front with an F. (so you can tell the other party which side is front)
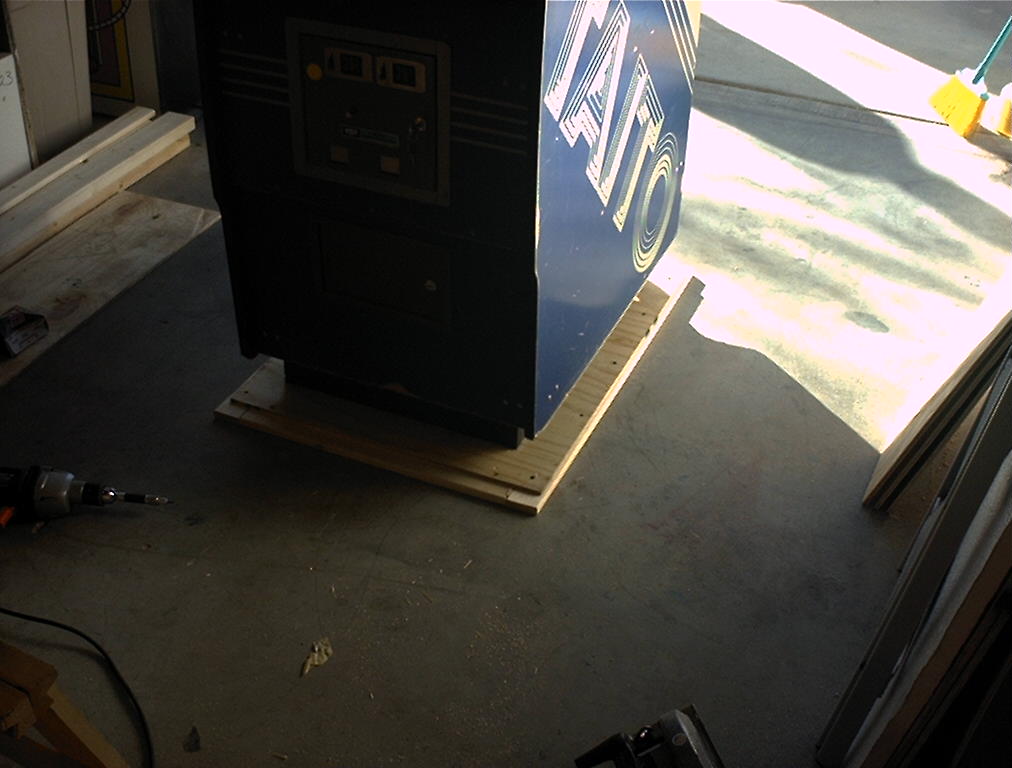
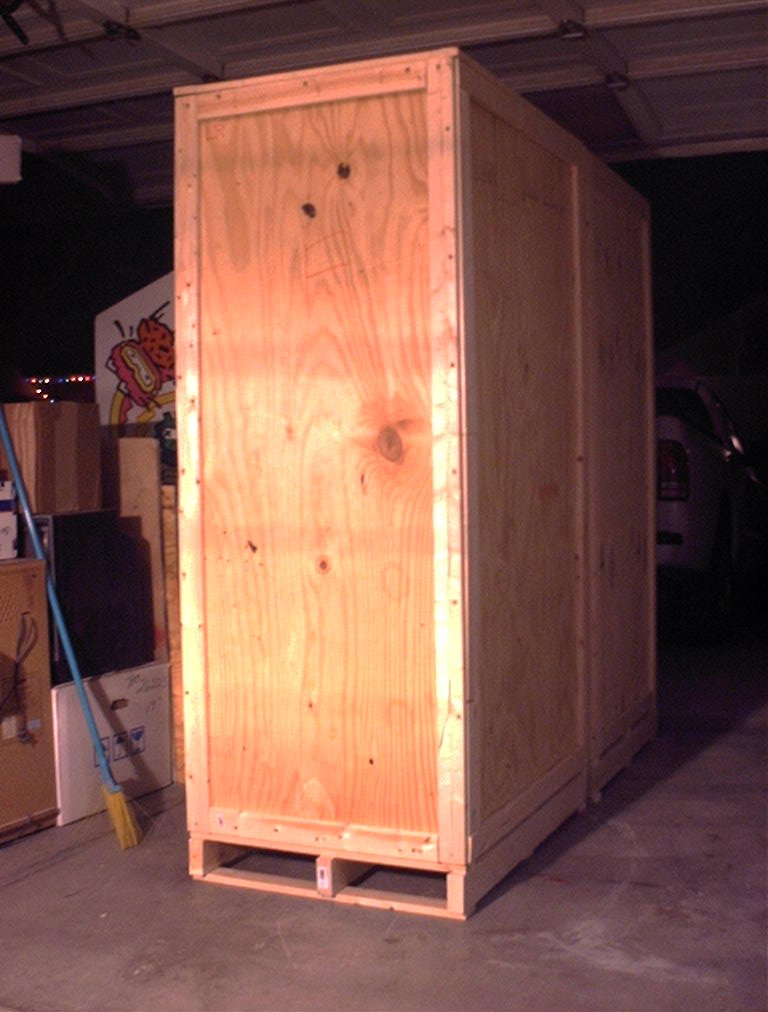
  11. Lay it on its back and screw a pallet to the bottom 2x4's.
  12. Deliver it to FA. :)

If you want to save a little money on shipping, you can build your own pallet exactly the same size as the bottom. Using 3 pieces of 2x4 on end, and 3 pieces of 1x4 on the top and bottom of them, crossing the 2x4s.

That's how I do it, your mileage may vary.

img0016.jpg
img0016.jpg

133.41 Kb
768 x 1012
img0017.jpg
img0017.jpg

135.82 Kb
768 x 1012
img0018.jpg
img0018.jpg

117.16 Kb
768 x 1012
img0020.jpg
img0020.jpg

118.96 Kb
768 x 1012
img0021.jpg
img0021.jpg

320.00 Kb
1012 x 768
img0022.jpg
img0022.jpg

110.48 Kb
768 x 1012
img0023.jpg
img0023.jpg

320.00 Kb
1012 x 768
img0024.jpg
img0024.jpg

320.00 Kb
1012 x 768
img0025.jpg
img0025.jpg

101.42 Kb
768 x 1012
img0026.jpg
img0026.jpg

320.00 Kb
1012 x 768
img0027.jpg
img0027.jpg

89.75 Kb
768 x 1012
img0028.jpg
img0028.jpg

114.92 Kb
768 x 1012
img0029.jpg
img0029.jpg

105.47 Kb
768 x 1012
img0030.jpg
img0030.jpg

102.79 Kb
768 x 1012
img0031.jpg
img0031.jpg

120.62 Kb
768 x 1012
img0036.jpg
img0036.jpg

320.00 Kb
1012 x 768
img0037.jpg
img0037.jpg

320.00 Kb
1012 x 768
img0038.jpg
img0038.jpg

94.26 Kb
1012 x 768
img0039.jpg
img0039.jpg

159.82 Kb
1012 x 768
img0040.jpg
img0040.jpg

320.00 Kb
1012 x 768
img0041.jpg
img0041.jpg

320.00 Kb
1012 x 768
img0042.jpg
img0042.jpg

100.36 Kb
1012 x 768
img0043.jpg
img0043.jpg

66.06 Kb
768 x 1012
img0045.jpg
img0045.jpg

320.00 Kb
1012 x 768
img0046.jpg
img0046.jpg

320.00 Kb
1012 x 768
img0047.jpg
img0047.jpg

100.21 Kb
768 x 1012
img0048.jpg
img0048.jpg

108.84 Kb
768 x 1012
img0049.jpg
img0049.jpg

102.35 Kb
768 x 1012


Home  |  Online Store  |  Repair Logs  |  Manuals and Schematics  |  Monitor Manuals  |  Component Markings  |  Links

All Content Copyright © 2000-2024 by MikesArcade.com